
Why Most Checkers Players Lose in the First Five Moves?

Checkers is wrongly perceived as a simplistic game of making jumps, but in professional practice, it is a game of narrow margins.
Just one mistake in your positioning strategy during the first five moves might cost you everything, as your opponent will already have the upper hand.
For anyone who wants to excel, whether playing casually or looking to dominate when you play checkers online, mastering opening moves is vital.
If your board position collapses early, you are likely making structural errors in your setup. This guide breaks down common opening traps, how to fix your layout, and core tactics to help you win more games.
1. Hugging the Board Edges: The “Side-Hugger” Opening Trap
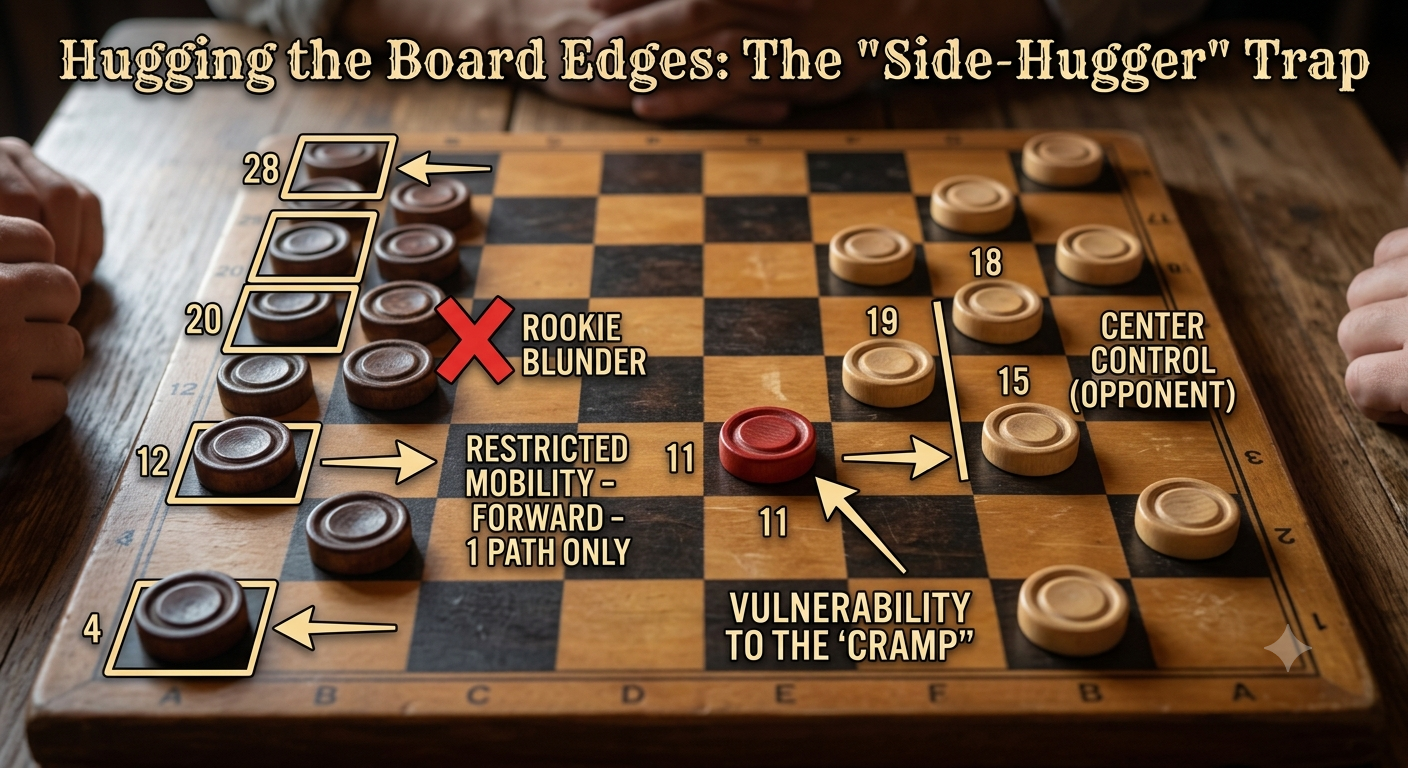
The major blunder committed by rookie players in their first five moves is to move their checkers toward the outermost portions of the board, i.e., squares 4, 12, 20, and 28. Novices take these positions to be safe areas because a checker placed here cannot be jumped over from the rear end.
However, moving to the edge severely limits your tactical options:
- Restricted Mobility: A checker on the edge controls only one forward diagonal square instead of two.
- Loss of Board Control: Hugging the sides surrenders the center of the board to your opponent.
- Vulnerability to the “Cramp”: Edge pieces are easily pinned against the wall by an opponent’s central piece, freezing your movement.
To maintain maximum flexibility, avoid pushing your pieces to the outer border in the opening moves. You should know the best first move in checkers to have an advantage.
2. Opening Central Lanes: How Central Control Dominates the Board
If going sideways is wrong, where does the initial move need to take place? The right answer would be the center of the board, on the dark squares 14, 15, 18, and 19. Playing from the center for the first five moves will give you two significant advantages:
- Dual-Direction Threat: A central checker can move or jump in two directions, making every piece twice as effective as an edge piece.
- Tempo Control: Controlling the center limits your opponent’s forward pathways, forcing them into predictable, defensive setups.
Executing a solid checkers strategy starts with occupying central squares in tandem pairs so that every advancing piece has immediate backup behind it.
3. Disbanding the “Home Guard”: Why Vacating the Back Row Early Costs You Games
Your back row (the King’s Row) is your primary defensive line. Moving your back-row checkers too early destroys your board anchor and invites an immediate enemy invasion.
When learning how to win checkers consistently, protecting your back row must be a top priority:
- Preventing Early Kings: As long as your four home squares remain occupied, it is impossible for your opponent to secure a King.
- Maintaining Defensive Balance: Vacating your back row early opens clear lanes for enemy checkers to slip through your defense.
- Forcing Opponent Friction: Keeping your “Home Guard” intact forces your opponent to fight for every single square on the board.
Unless you are forced to move a back-row piece to complete a capture or execute a high-value trap, keep your back row firmly anchored through the opening phase.
4. Launching Lone-Piece Attacks: The Danger of Isolated Checkers
Advancing a single checker deep into enemy territory during the first few turns is a fast track to material loss. Isolated checkers cannot defend themselves and quickly become easy targets for your opponent.
Proper checkers board setup and opening execution require advancing in connected groups:
- Tandem Pairs: Always move checkers so that one piece rests directly behind another on the diagonal. This ensures that if the front piece is attacked, the rear piece provides immediate protection.
- Geometric Formations: Structure your advancing pieces into triangular or diamond patterns. These formations create defensive chains that prevent simple jumps.
A single checker sprint toward the opponent’s side might feel aggressive, but without support, it is easily trapped, surrounded, and captured.
When evaluating broad tactical concepts across traditional tabletop pastimes, examining Chess vs. Other Board Games highlights just how heavily structural integrity depends on protecting your starting foundation.
5. Ignoring Mandatory Jumps: Falling into 2-for-1 Sacrifice Traps
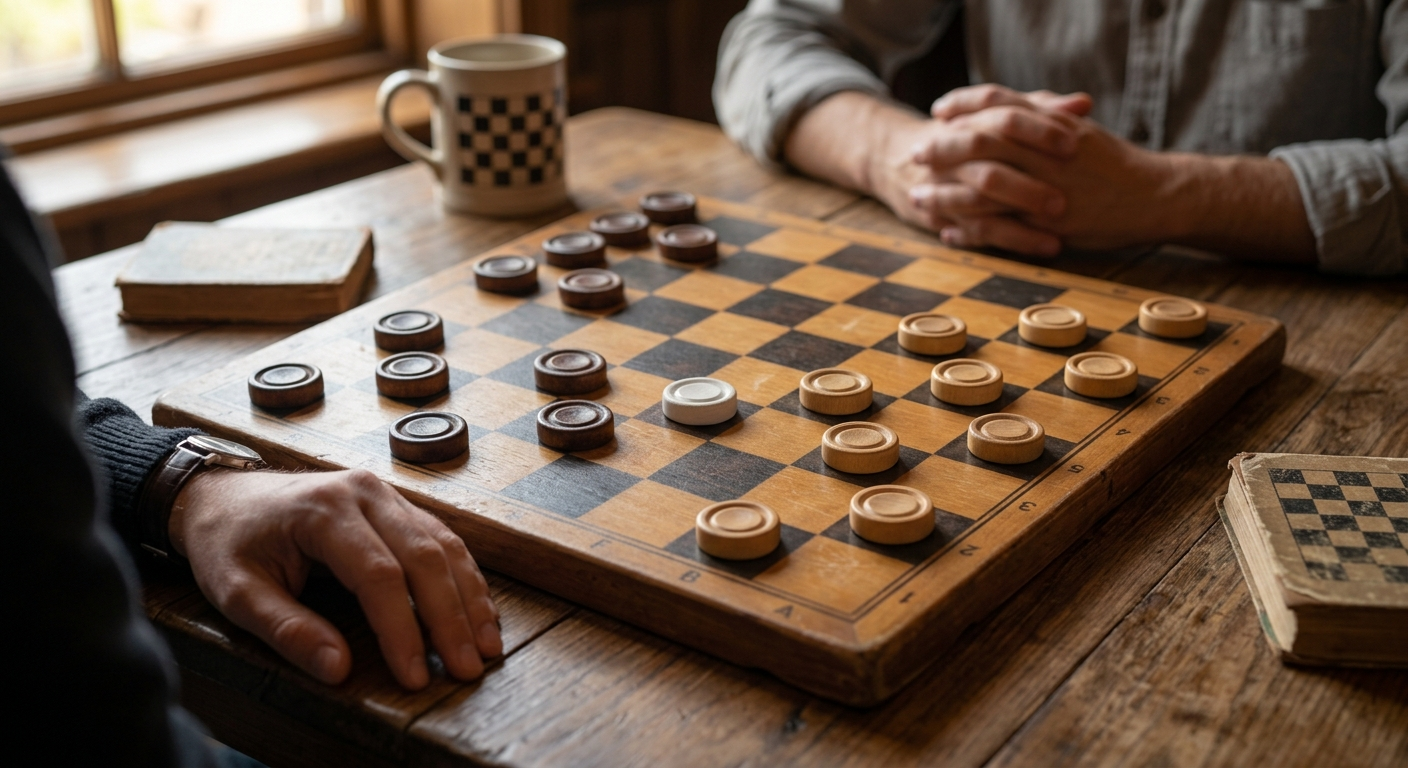
Casual players often do not consider captures as necessary moves or are unable to determine jumps in advance. According to the rules of checkers, capturing becomes an obligatory move when a player has a possibility to do so.
Failing to spot your opponent’s forced jump setups during the opening phase is catastrophic:
- The Forced Sacrifice: Advanced players will deliberately offer a single checker as bait.
- The Multi-Jump Counter-Attack: Because you are forced to take the bait, your piece lands on a pre-planned square, allowing your opponent to reply with a 2-for-1 or 3-for-1 jump sequence.
Asking Can you double jump in checkers is only the first step; you must constantly calculate whether your opening move forces your opponent into executing a multi-jump counter-strike against you.
6. Opening Strategy Comparison: Beginner Blunders vs Master Plays
Understanding the difference between weak opening moves and master-level execution can instantly elevate your game:
| Opening Factor | Beginner Blunder | Master Play |
| Edge Strategy | Moves to squares 4, 12, 20, 28 (“side-hugger”) | Avoids board edges to retain dual diagonal mobility |
| Center Control | Abandons central squares | Claims squares 14, 15, 18, and 19 early |
| Back Row | Vacates home squares within first 3 moves | Keeps the King’s Row intact as a defensive wall |
| Piece Advancement | Sends single “scout” checkers deep alone | Advances in supported tandem pairs and groups |
| Capture Planning | Reacts to captures turn-by-turn | Calculates forced-jump traps 2–3 moves ahead |
7. Chess vs Checkers: Why Opening Precision Matters
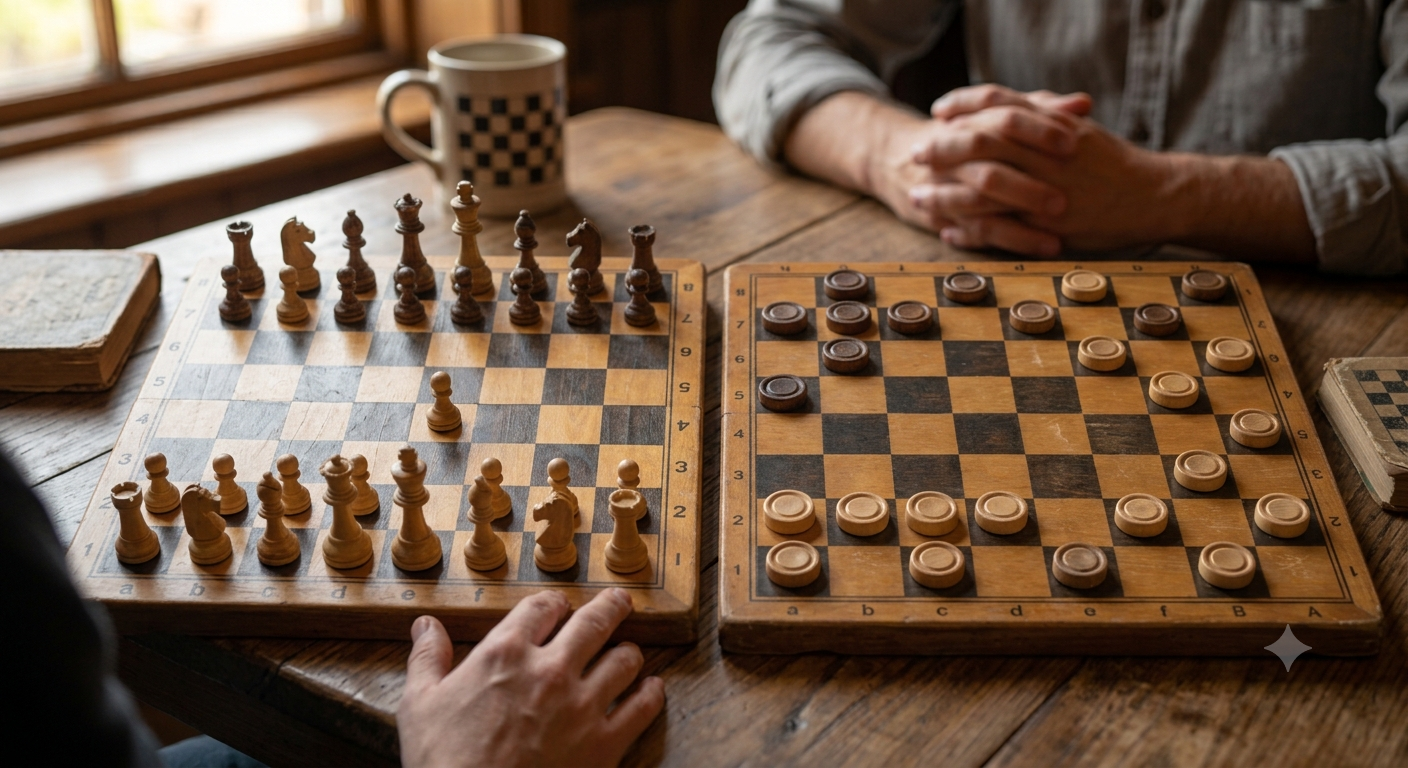
Comparing chess vs checkers leads many beginners to assume checkers lacks tactical depth. However, checkers features tighter movement constraints and mandatory captures.
In chess, positional errors can often be salvaged later. In checkers, uniform piece speed and compulsory jumps mean a single opening slip can lock you into a forced loss.
Understanding how to play checkers at an advanced level requires absolute precision in your first five moves to safeguard your midgame flexibility.
How to Play the First Five Moves Perfectly
To ensure you don’t lose your next match in the opening sequence, run through this mental checklist during your first five turns:
- Advance Toward the Center: Prioritize dark squares 14, 15, 18, and 19 over the board edges.
- Keep the Back Row Intact: Do not move your home-row checkers unless strictly necessary.
- Move in Groups: Advance checkers in tandem pairs so every front piece has diagonal support behind it.
- Calculate Mandatory Jumps: Before completing a move, check what jumps your opponent will be forced to make, or enabled to make, on their next turn.
- Set Up King Pathways: Focus on opening clean pathways toward the crown row while keeping your opponent’s routes blocked.
The game of checkers is not based on luck but rather is an art that hinges on opening accuracy, position play, and forcing calculation. The first five moves in any game of checkers lay the groundwork for your game plan.
By avoiding board edges, keeping your back row intact, advancing in tight groups, and leveraging compulsory jump rules to trap your opponent, you eliminate the costly errors that cause most players to lose early.
